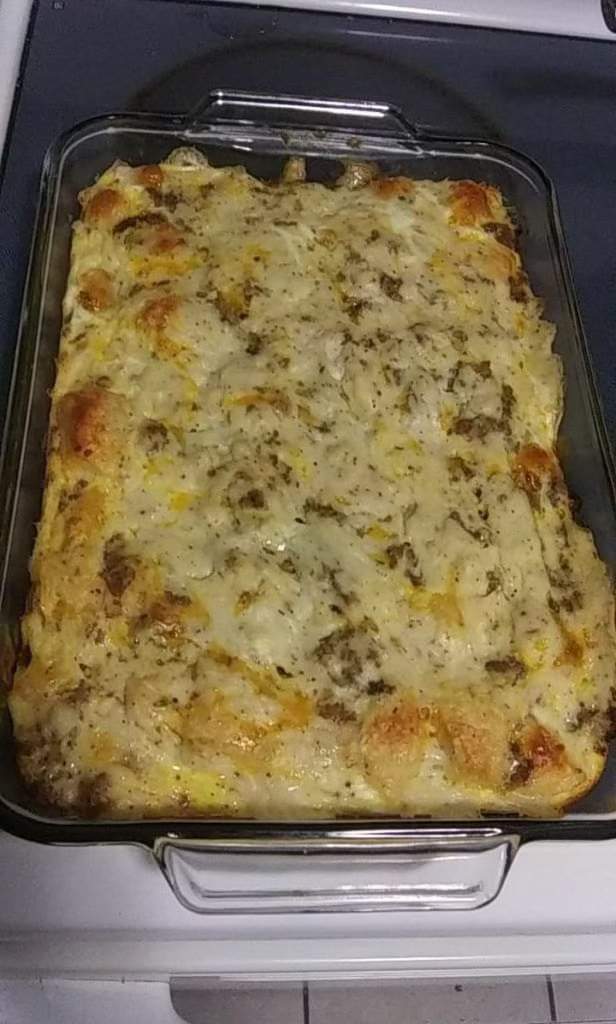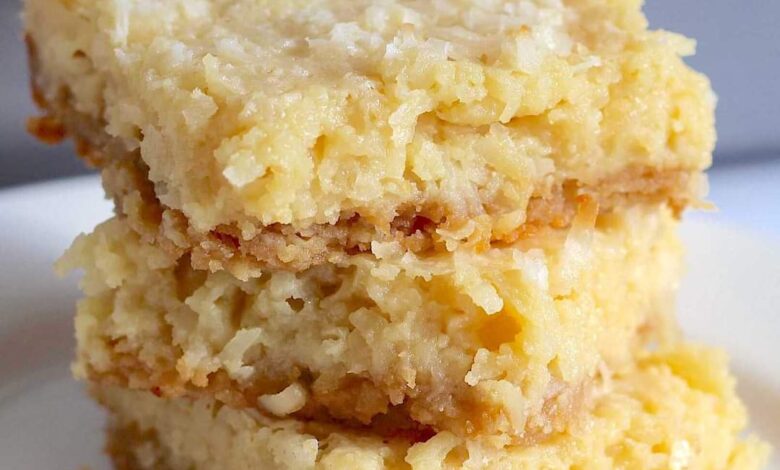
Coconut is one of those flavors that people seem to either love or hate. I, for one, cannot get enough of it. If you feel similarly then today’s recipe is for you! These Coconut Butter Bars are an absolute dream in dessert form. With a buttery crust, a creamy filling, and plenty of coconut flakes, there’s a whole lot to love about this sweet treat. And, did I mention that they’re super easy to whip up? Let’s get into how they’re made!
The recipe starts out by making a simple crust. Mix together flour, brown sugar, salt, and melted butter until it forms a dough. Transfer the dough to a lightly greased 9×13-inch baking dish and use your hands or a spatula to press it into an even layer, forming a crust. You’ll then bake the crust for about 15 minutes. While the crust bakes you can start on the filling! Stir the eight ingredients together, spread it over the baked crust, and sprinkle the remaining coconut flakes over the top. Pop it back in the oven for about 25 minutes and your bars are good to go.
CRUST:
2 cups flour
1 cup brown sugar, packed
1 teaspoon salt
1 cup butter (2 sticks), melted
FILLING:
1/2 cup flour
1 (14 oz) can sweetened condensed milk
2 tablespoons granulated sugar
3 eggs
1/4 cup butter, melted
2 teaspoons vanilla extract
1 teaspoon salt
3 cups sweetened shredded coconut
1 cup sweetened shredded coconut, additional for topping
PREPARATION:
Preheat oven to 350 degrees F and lightly grease a 9×13-inch baking dish.
In a medium bowl, mix together all crust ingredients until they form a dough. Transfer dough to the prepared baking dish and use your hands or a spatula to press into an even layer.
Bake crust for 13-15 minutes or until golden.
As crust bakes, mix together the filling. In a large bowl, add all filling ingredients except for 1 cup of coconut. Pour filling over the baked crust, spread into an even layer. Top with remaining 1 cup of coconut.
Bake for an additional 25-28 minutes or until set in the middle and coconut starts to brown.
Allow bars to cool before slicing.