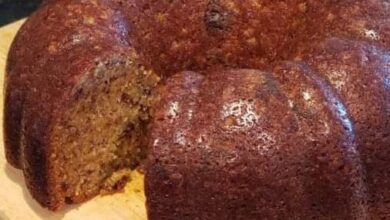
If there’s one thing everyone seems to agree on it’s that this Danish Dream Cake is absolutely delicious. What sources don’t seem to agree on is its origin story. Some say that a young Danish girl entered her grandmother’s secret family recipe in a baking competition and won the whole thing, making it famous throughout the country. Personally, I love that version of the story so it’s the one I’ve chosen to believe.
It’s called Dream Cake because it “tastes like a dream!” We can certainly get behind that. Essentially, it’s a simple homemade cake base that’s partially baked and then topped with a thick layer of saucy shredded coconut. It’s returned to the oven for about 10 minutes to get toasty and caramelized. The final result is completely mouthwatering.
INGREDIENTS
½ cup butter (1 stick)
⅓ cup whole milk
3 eggs
1 cup sugar
1 3/4 cup flour
1 ½ teaspoon vanilla extract
1 ¾ baking powder
¼ teaspoon salt
COCONUT TOPPING
½ cup butter (1 stick)
1 cup brown sugar
2 tablespoons milk
1 teaspoon vanilla
2 cups shredded sweetened coconut
PREPARATION
Preheat oven to 375 degrees F and thoroughly grease a 9-inch springform pan.
In a small microwave safe bowl, add butter and milk. Heat until butter is fully melted and stir to combine, then set aside.
In a large bowl, mix eggs and sugar until light and airy, then add vanilla. Add flour, baking powder, and salt and mix until just combined. Gently mix in butter-milk mixture.
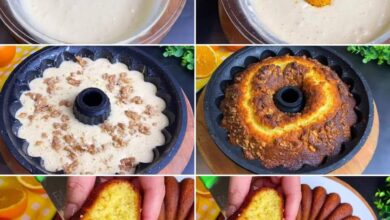
Transfer batter to the prepared pan and bake for 25-30 minutes, or until top has set. Start on coconut topping as it bakes.
Topping: Add butter, brown sugar, and milk to a small saucepan over medium heat. Cook for 2-3 minutes or until it reaches a simmer. Remove from heat and mix in vanilla and coconut.
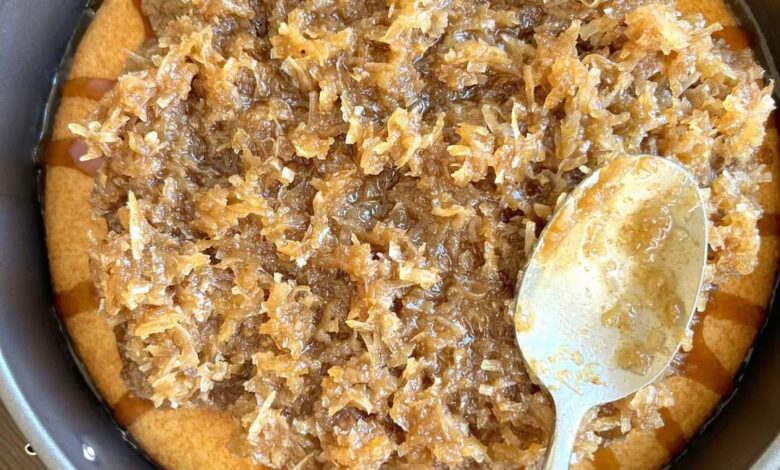
Remove cake from the oven at the 25-30 minute mark and pour coconut topping over the top. Spread into an even layer.
Increase oven temperature to 400 degrees F and bake for another 8-10 minutes until coconut begins to turn golden.
Allow cake to fully cook before slicing.